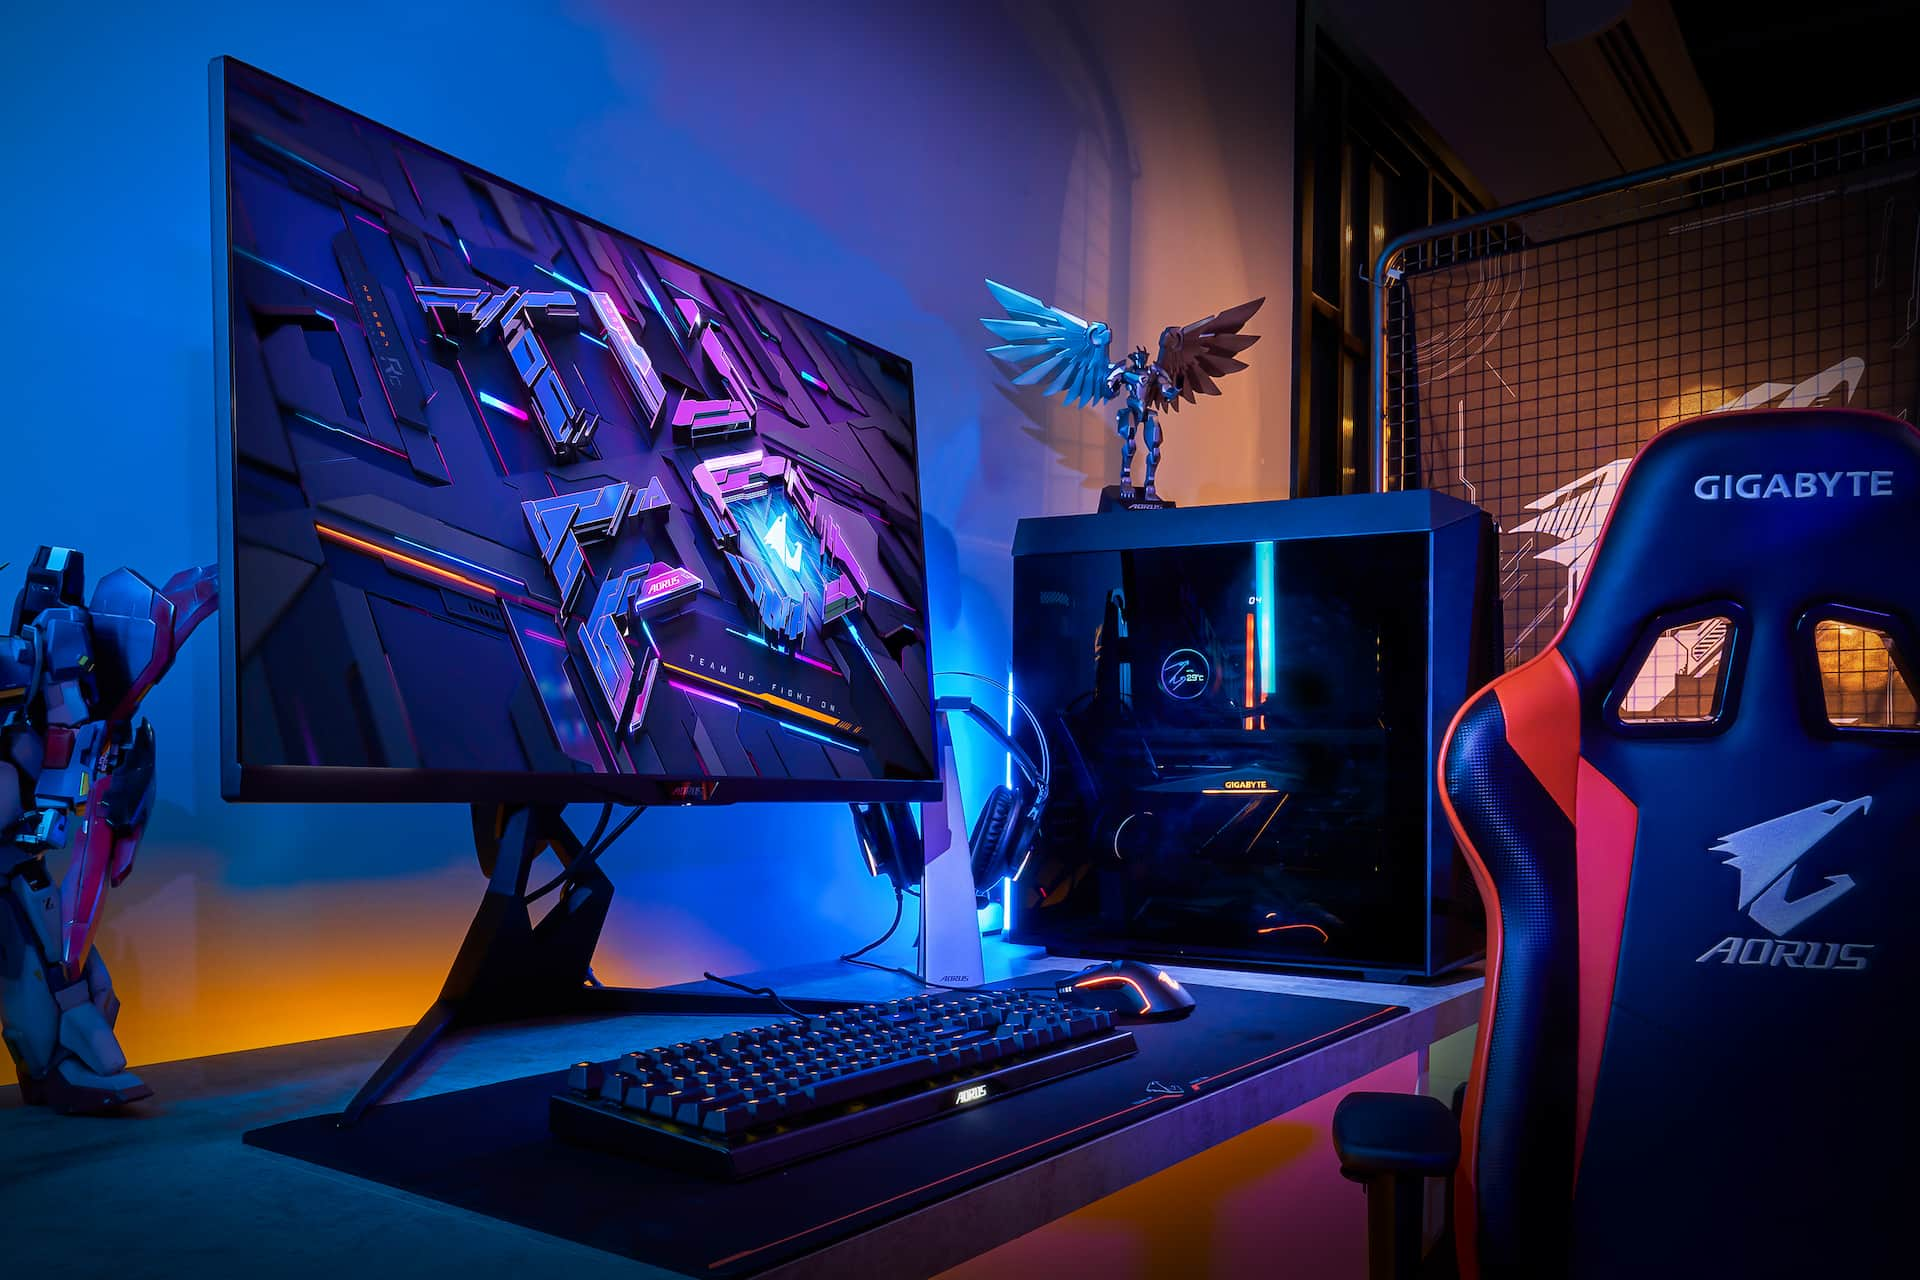
Despite the rise and popularity of PC gaming culture, setting up a popular monitor to a gaming PC might not be the easiest of tasks for a novice PC gamer. For starters, not every monitor and PC combination is ready to use out of the box, like the high-end Thunderbolt monitors that are primarily used for Apple devices. You’ll need to make some adjustments before you can use it every day.
Remember, while your monitor will do little to affect how smoothly your game runs, it will affect the overall experience and feel. Using a good quality monitor like the best monitor for gaming under 150 on your gaming PC is quite enjoyable. Your gaming experience will be more impressive, realistic, and on a cinematic scale, which you can also experience on the ViewSonic XG2700 4K gaming monitor. In the remaining article, we will guide you about connecting gaming monitors to PCs in detail.
Steps of Connecting the Gaming Monitor
If you have the know-how of connecting a gaming monitor to a PC then you can easily connect it. So, for this, you have to follow some of the following steps:
Choose the Right Cables for Your Gaming Monitor
Choosing the right cables for your gaming monitor is essential to ensure a proper and high-quality connection between your monitor and PC. The choice of cable depends on the available ports on your gaming monitor and PC. Common cable types for gaming monitors include HDMI, DisplayPort, and DVI.
When choosing cables, consider the capabilities of your gaming monitor and PC, such as the supported resolutions and refresh rates. Ensure that the cable you select matches the available ports on both devices. Additionally, check the cable length to ensure it is sufficient for your setup.
Connect the Power Cable
Connecting the power cable is an essential step in setting up your gaming monitor. To do so, follow these steps:
- Locate the power input port on your monitor, usually found on the back or side panel.
- Next, connect one end of the power cable to this port. The other end of the cable typically has a standard AC plug that goes into a power outlet.
- Ensure the power cable is securely connected at both ends.
- Once connected, you can power on your gaming monitor by pressing the power button, usually located near the power input port.
- Confirm that the monitor receives power by checking for the presence of indicator lights or an illuminated display.
Attach the Video Cable
Attaching the video cable is a crucial step in connecting your gaming monitor to your computer. Depending on the available ports on your monitor and computer, you’ll need to select the appropriate video cable. Common options include HDMI, DisplayPort, and DVI cables. Locate the video input port on your gaming monitor, typically located on the back or side.
Connect one end of the video cable to this port. The other end of the cable should be connected to the corresponding video output port on your computer. Ensure a secure connection at both ends. Once connected, power on your gaming monitor and computer. The monitor should automatically detect the video input and display the computer’s output. If necessary, adjust the display settings on your computer to match the resolution and refresh rate supported by the gaming monitor.
Enable the Gaming Monitor Input Source
Enabling the gaming monitor input source is an important step to ensure that your monitor receives the correct signal from your computer. After connecting the video cable between your gaming monitor and computer, you need to select the corresponding input source on your monitor. Most gaming monitors have an input source button or menu that allows you to cycle through different options such as HDMI, DisplayPort, or DVI.
Use the buttons on your monitor or the on-screen display (OSD) to navigate to the input source settings. Select the input source that matches the port you connected the video cable to (e.g., HDMI if you connected an HDMI cable). Once you have chosen the correct input source, save the settings, and your gaming monitor will now be receiving the signal from your computer.
Configure Your Gaming Monitor Settings
Configuring your gaming monitor settings is an important step to optimize the visual experience and tailor it to your preferences. Most gaming monitors offer a range of settings that can be adjusted to enhance image quality, color accuracy, and gaming performance.
Start by accessing the on-screen display (OSD) menu of your gaming monitor. This can usually be done by pressing the menu button on the monitor itself. Once in the menu, navigate through the available settings using the buttons or controls provided.
Key settings to consider adjusting include brightness, contrast, color temperature, gamma, and sharpness. These settings can help you achieve the desired level of brightness, clarity, and color reproduction for your gaming experience.
By taking the time to configure your gaming monitor settings, you can personalize the visual output to your liking, enhance the gaming experience, and make the most out of your gaming sessions.
Conclusion
In conclusion, connecting and configuring your gaming monitor properly is essential for an optimal gaming experience. By following the steps of attaching the video cable, enabling the input source, and configuring the monitor settings, you ensure that the monitor receives the correct signal and is optimized for your preferences.
Taking the time to properly connect and configure your gaming monitor ensures that you can enjoy immersive visuals, accurate colors, smooth motion, and overall optimal performance during your gaming sessions.

