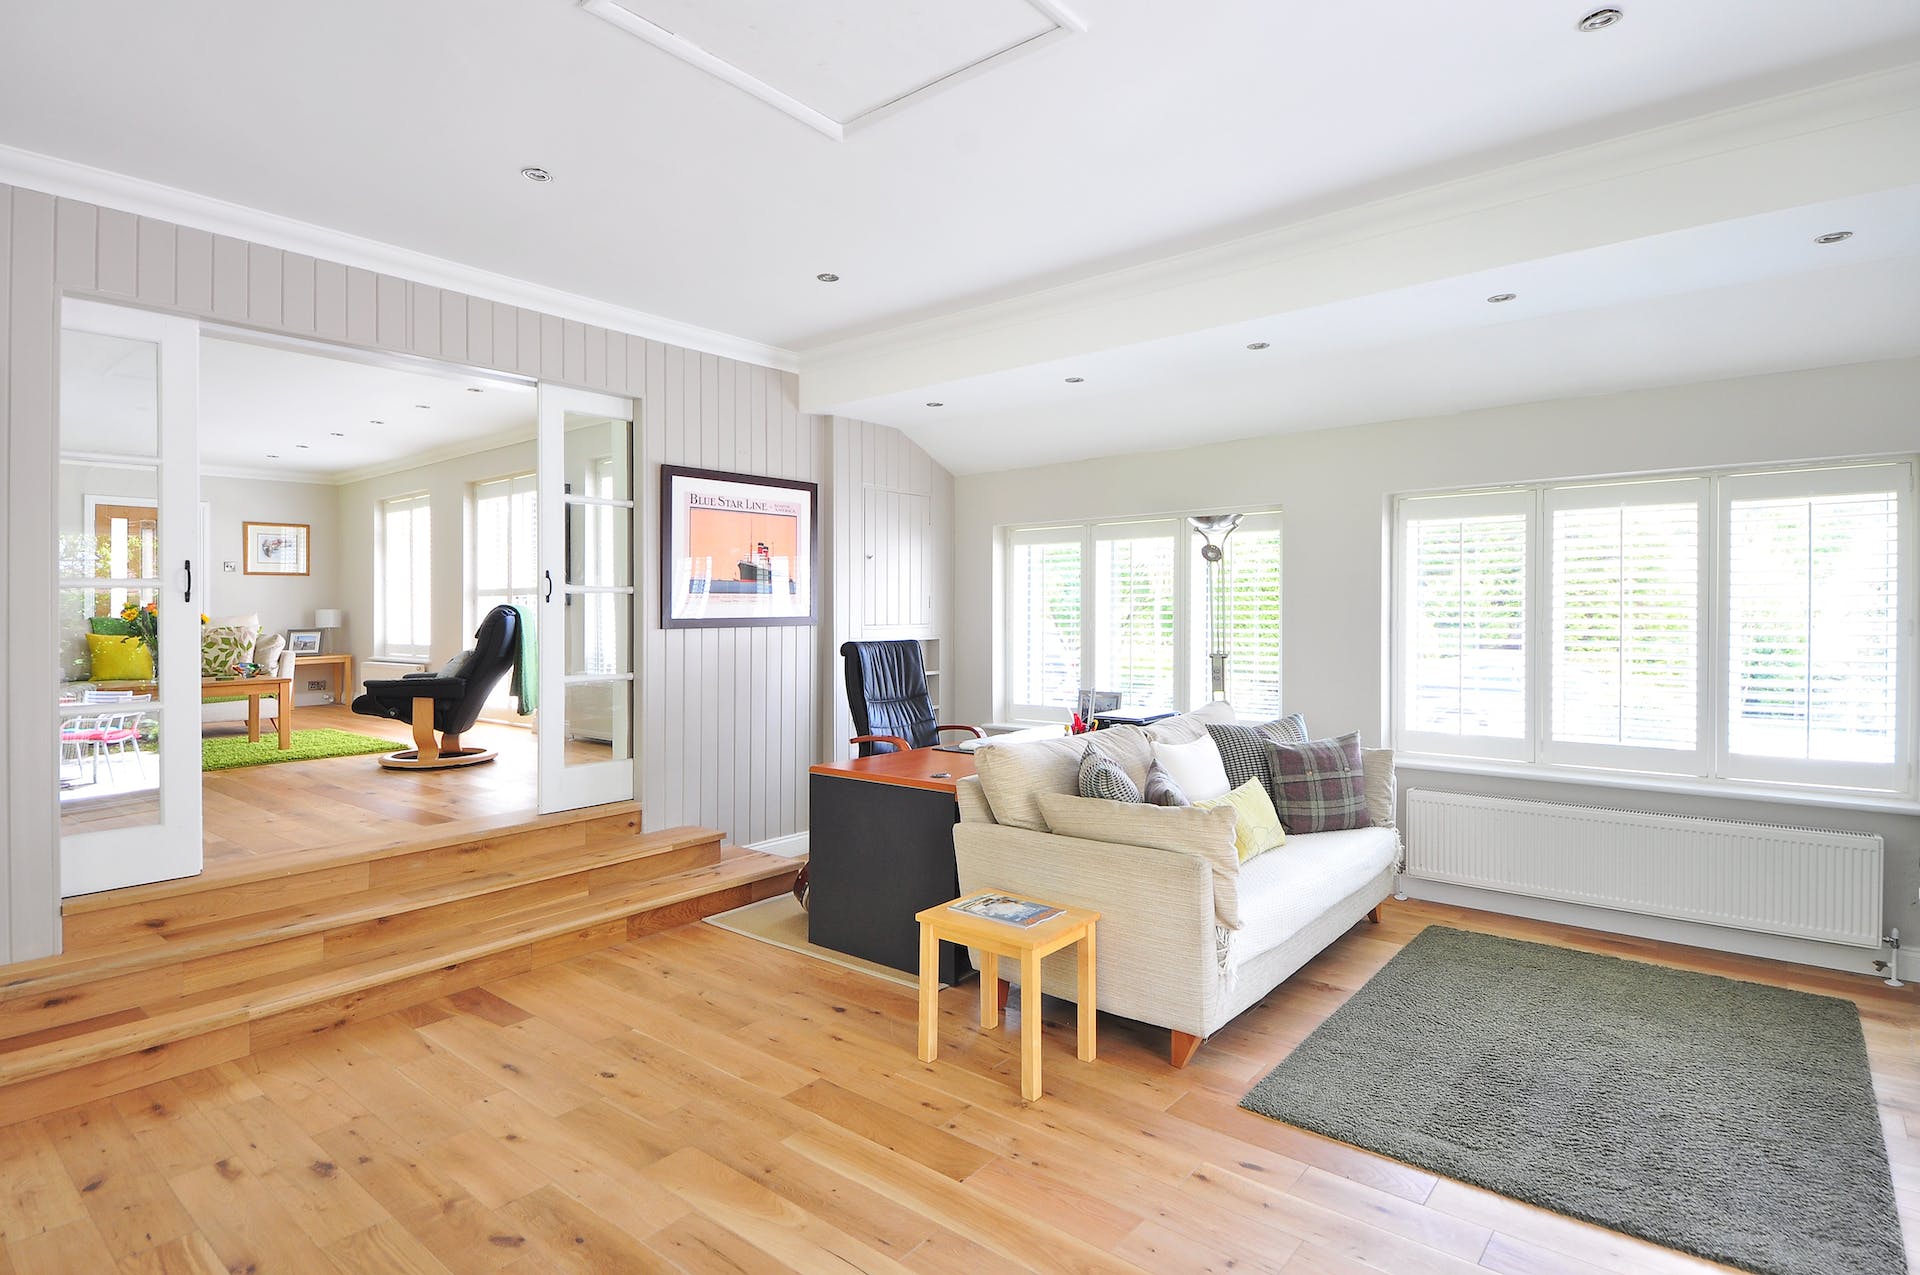
Are you looking to transform your living space with the warmth and elegance of wood flooring? The process of installing DIY wood flooring might seem daunting, but fear not – we’ve got you covered with this comprehensive step-by-step guide. Follow these detailed instructions, and you’ll have a stunning wood floor that not only enhances the aesthetic appeal of your home but also adds value to your property.
Choosing the Right Wood
The foundation of any successful DIY wood flooring project lies in selecting the right type of wood. Hardwood flooring options like oak, maple, or cherry are not only durable but also bring timeless beauty to your space. Ensure that the wood you choose complements your existing decor and meets your lifestyle needs.
Preparing Your Space
Clear the Room
Begin by removing all furniture and any existing flooring. This blank canvas will make the installation process smoother and allow you to inspect the subfloor for any necessary repairs.
Inspect and Repair Subfloor
A level and clean subfloor are crucial for a flawless wood floor installation. Inspect for any irregularities and fix them promptly. Patching cracks and ensuring a level surface will prevent future issues and guarantee a professional finish.
Acclimating the Wood
Allow your selected wood to acclimate to the environment by placing it in the room for at least 48 hours. This step is crucial to prevent warping and ensure a seamless installation.
Installing the Underlayment
A quality underlayment is the unsung hero of any wood flooring project. Lay it down evenly across the subfloor to provide a moisture barrier, reduce noise, and create a smooth surface for the wood planks.
Plank Installation
Start from the Center
Begin laying the first plank at the center of the room. This visually appealing technique creates symmetry and ensures a balanced appearance.
Stagger the Joints
To enhance both stability and aesthetics, stagger the end joints of adjacent rows. This not only adds strength to the floor but also contributes to the overall visual appeal.
Nail or Glue Down the Planks
Depending on your preference and the type of wood chosen, secure the planks using either nails or adhesive. Follow the manufacturer’s guidelines for the best results.
Finishing Touches
Trim and Moldings
Complete the look of your DIY wood flooring project by installing trim and moldings. These finishing touches not only conceal gaps but also add a polished, professional touch to your new floor.
Sanding and Finishing
Once the planks are securely in place, sand the surface to ensure a smooth and even finish. Apply the chosen finish – whether it’s a clear sealant or a rich stain – to protect the wood and enhance its natural beauty.
Maintenance Tips
Preserve the longevity and allure of your DIY wood flooring with these maintenance tips:
- Regular Cleaning: Sweep or vacuum the floor regularly to prevent dirt and debris from scratching the surface.
- Avoid Moisture: Wood and moisture are not the best companions. Wipe up spills promptly and maintain a controlled humidity essentials brown hoodies level in your home.
- Use Furniture Pads: Place furniture pads under heavy pieces to prevent scratches and dents.
Follow these steps diligently, and you’ll not only have a stunning wood floor but also the satisfaction of a successful DIY project. Now, go ahead and enjoy the warmth and beauty that wood flooring brings to your home.

